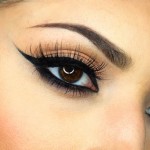
What can possibly beat the flirtatious magic of the perfect winged look? All the girls die to get that Lauren Conrad- perfect eye flick and who can blame us? But getting the wonderful winged look could be a real trouble at times, right? Yeah, I feel you girls! So, how about I dole out a winged look 101 post which a winged look or even a cat eye would be piece of cake..oh, are you blessing me already? Gee, thanks!
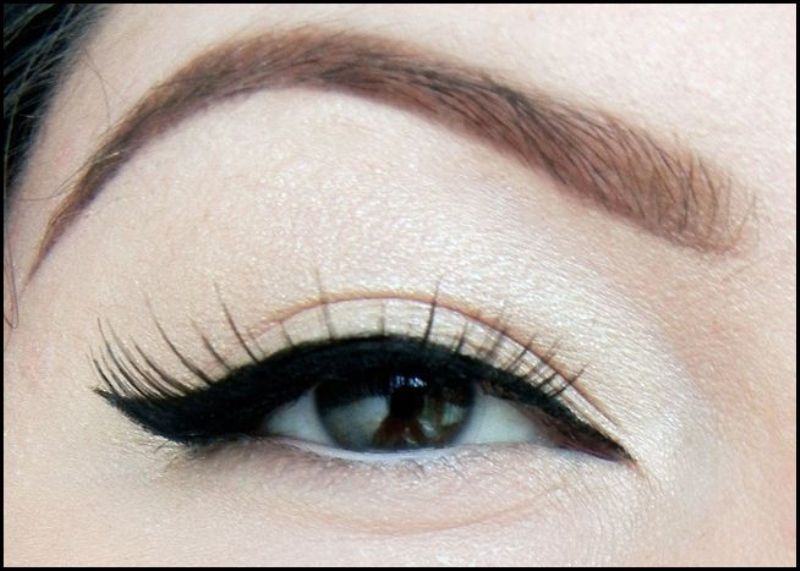
Image source: Pinterest
Let’s go… erm, fly…
Step 1 – Start by marking the dots for the outline reference

Image source: rebloggy
What you need to do here is to start with dotting the marks for your outline. This trick is really helpful in giving you a map when you start making the line and save you from any possible mess as the liner bends.
Suggested read: 12 essential beauty secrets from Victoria’s Secret Angels
Step 2 – Take a deep breath and go on making the outline
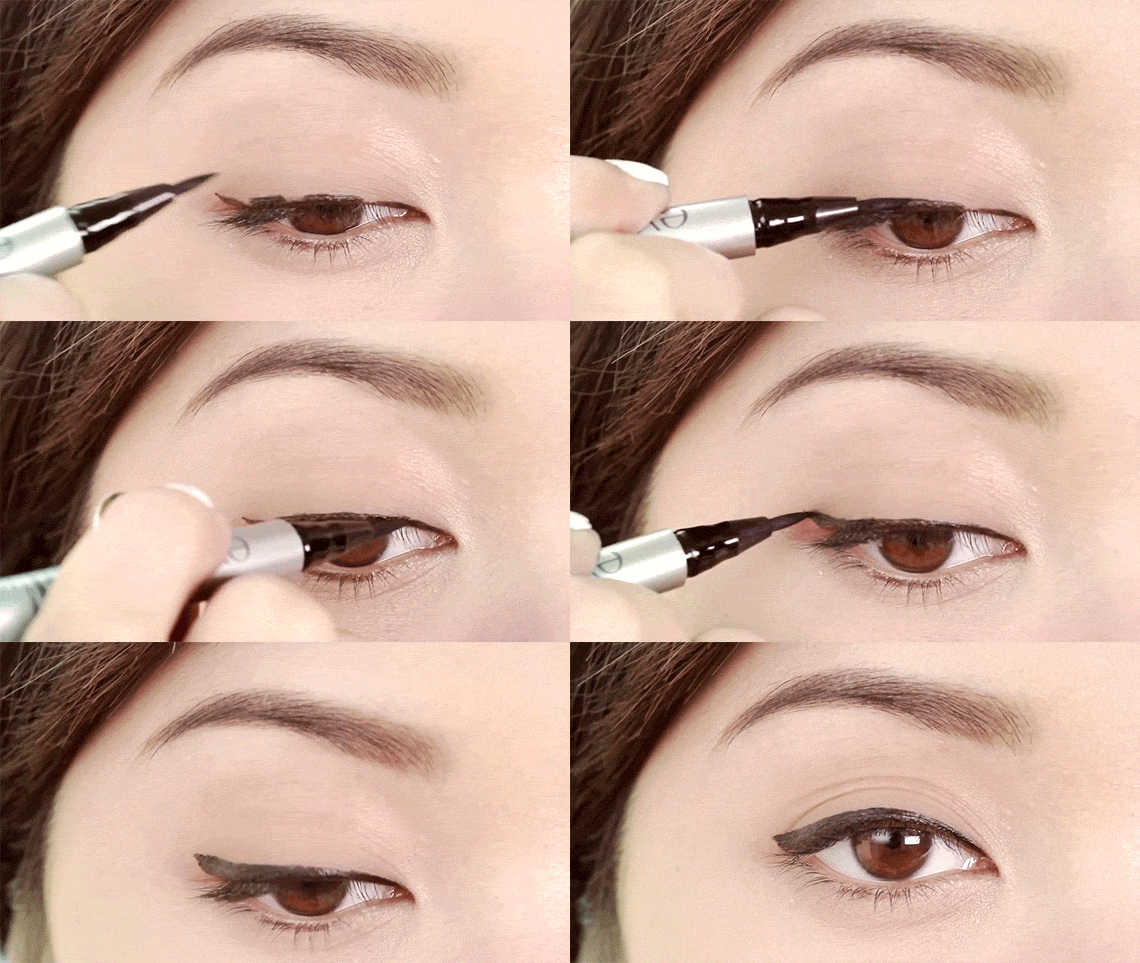
Image source: rebloggy
The hesitation you feel is perfectly okay and I assure you that after the dotted markings, using the liner for that seamless flick will be a piece of cake. If you are not confident with the liquid liner, just pick a pencil and draw that line without worrying.
Step 3 – Give your outline some depth
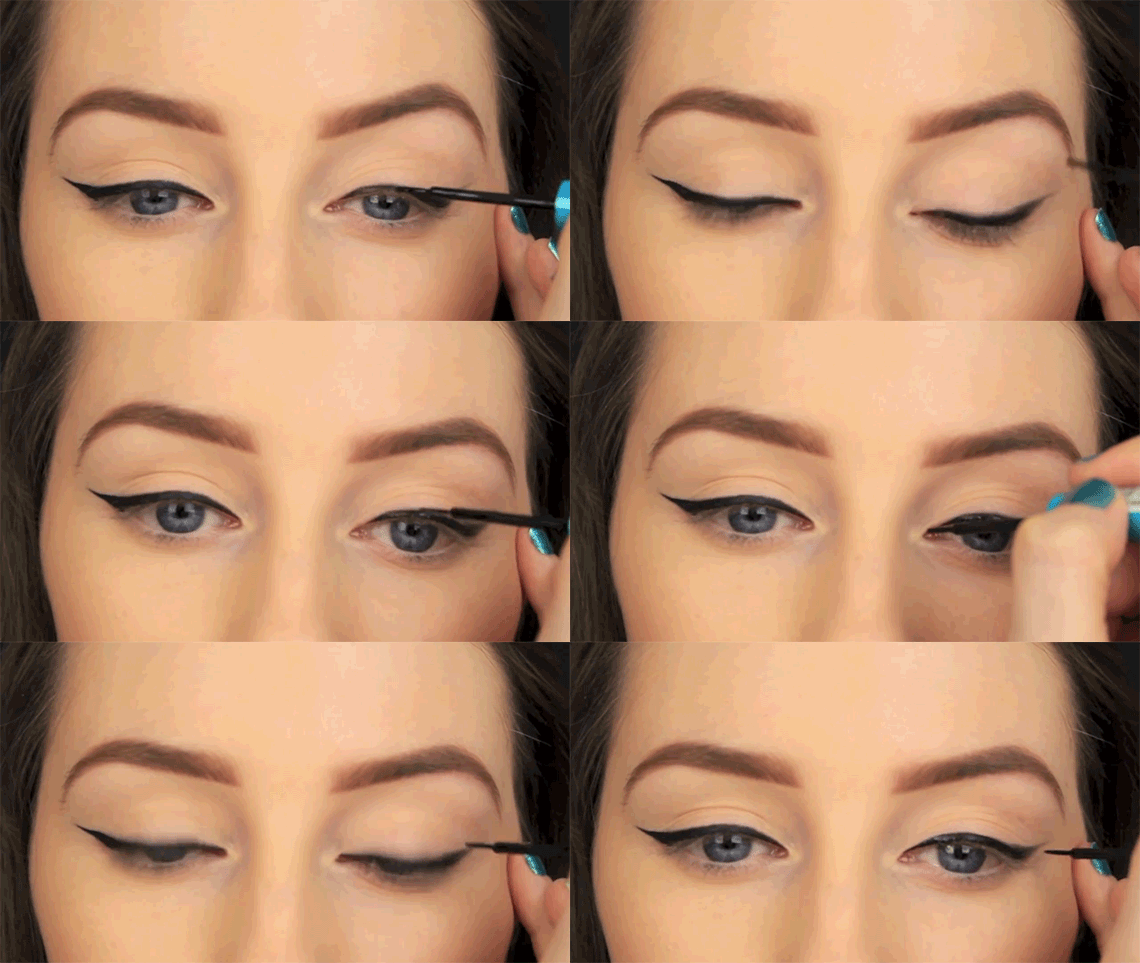
Image source: Giphy
This is a fun step indeed. It is now that you begin to go deep!  You may proceed the way you like, but it’s always better to start from the inside and reach out to the wing slowly and gradually. A little tip here – don’t be hard on yourself- if you feel like blinking, rest, blink, and resume. There’s no rule that forces you to keep your eyes steady all the time. So, just chill!
Step 4 – A little trick with the winged bend would help
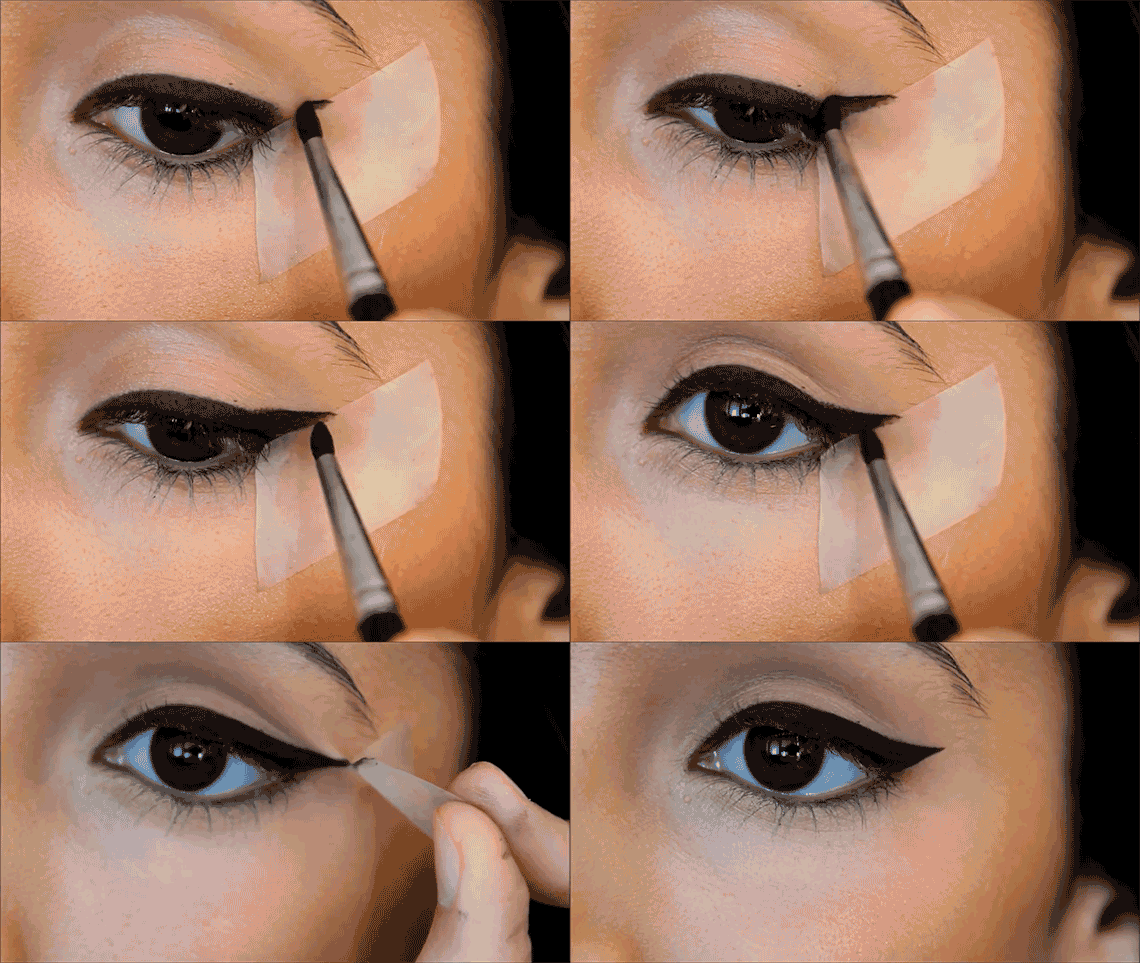
Image source: huffpost
Making a sharp wing could come hard to a beginner, but worry not newbies, as we’re going to cheat our way out of here. You can use the classic tape trick and it’ll leave your eyes with a beyond-perfect wings. And you’ll learn to do it free-hand with practice and time, real soon!
Step 5 – Double the liner for the extravagance of color and touch up the fine end
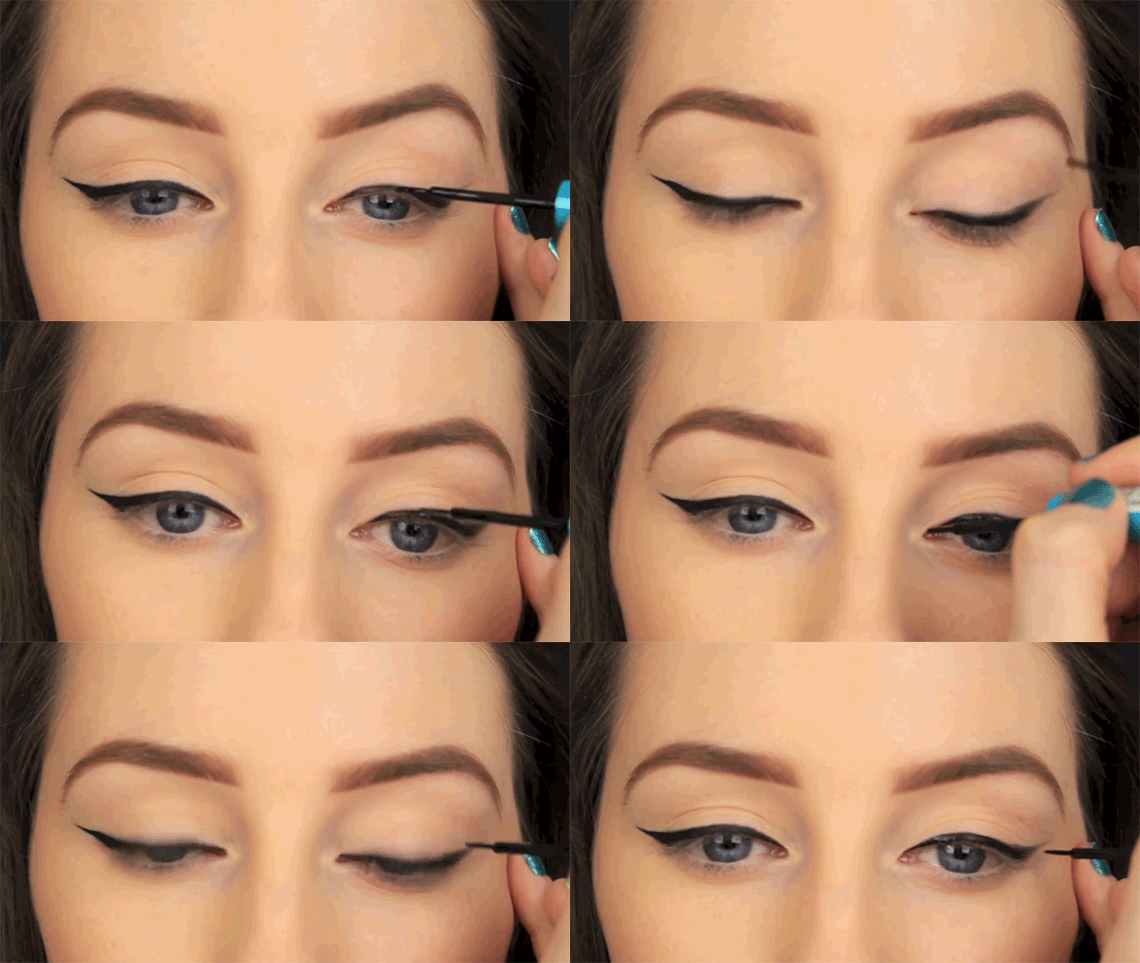
Image source: Pinterest
Don’t let your spirit down if the liner on your eye is not deep enough in color. You can always double it with a second coat, which will not only add better color and shine, but also give you a chance to right any break in the line as well. What more do you need?
Step 6 – Finish your perfect cat eye wing by clearing the extra eyeliner, if any
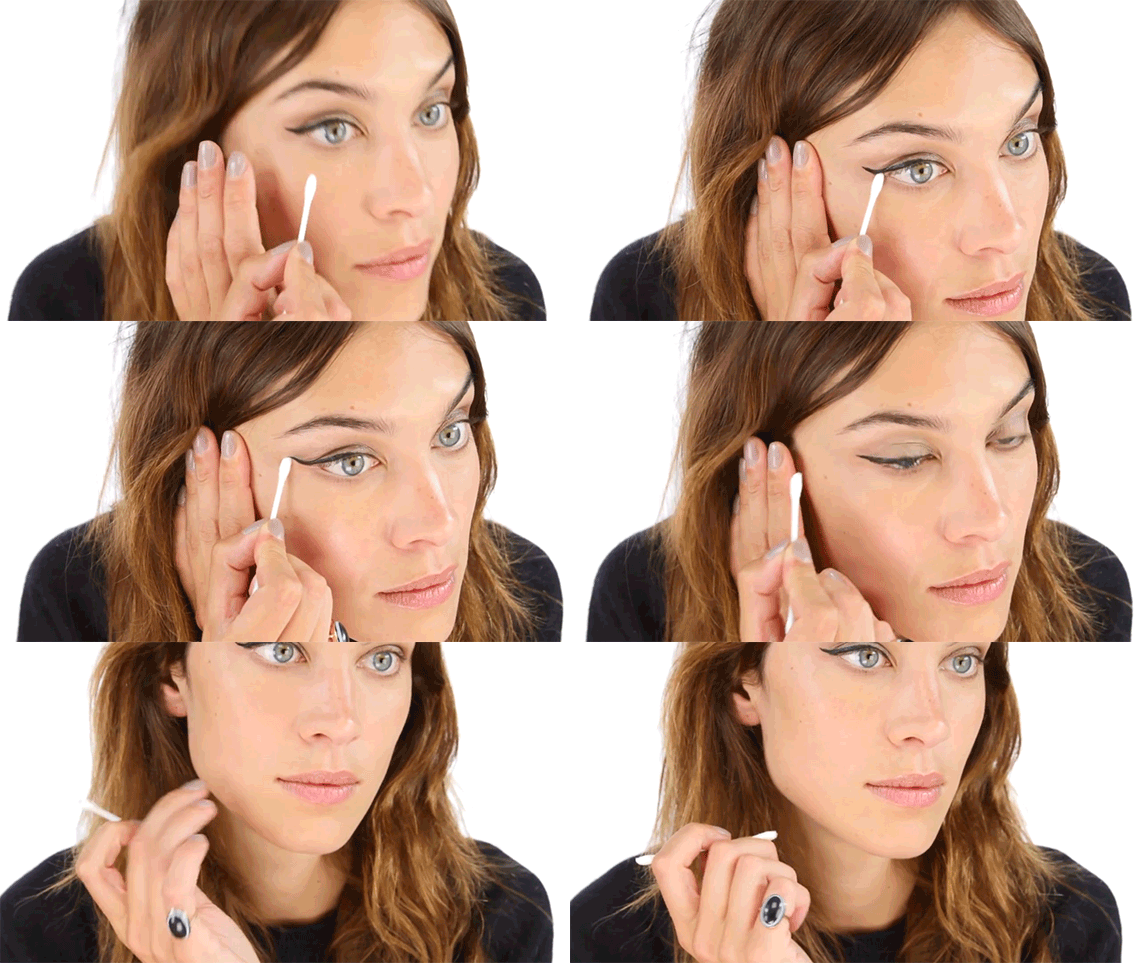
Image source: huffpost
After you have traced your liner, you can then pay attention to the perfection of the winged edge of your look as well. I’ll always recommend finishing the tip of your flying away end with a sleek liner brush for the best magic.
Suggested read: How to copy Kim Kardashian’s beauty routine using all drugstore products
Step 7 – Work the mascara magic
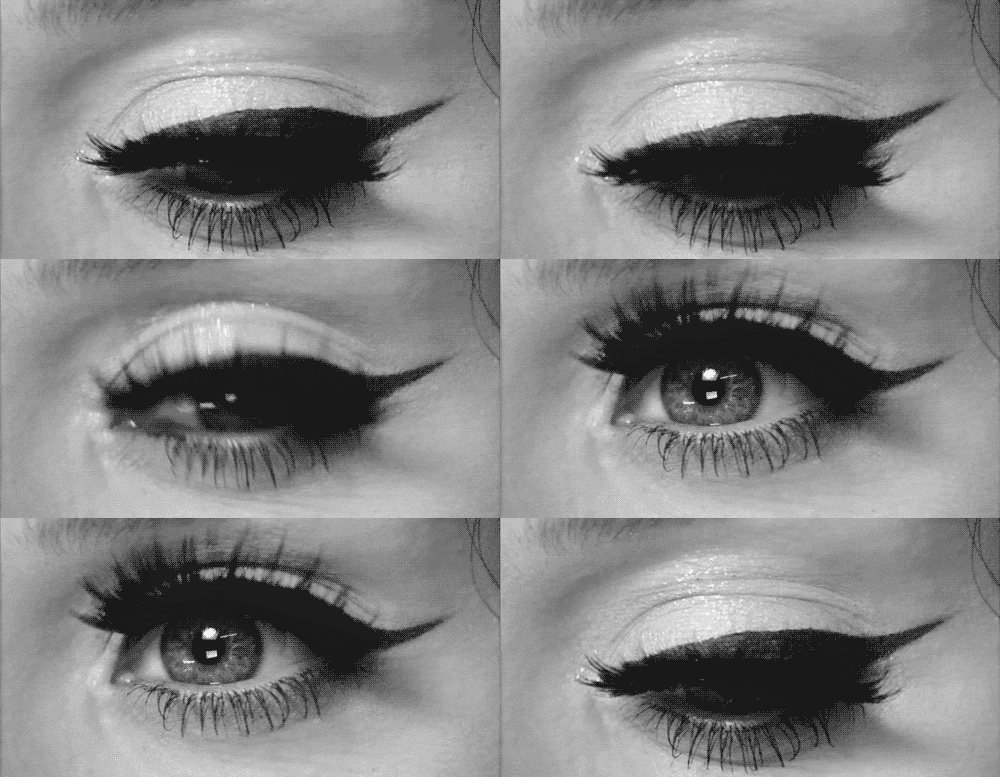
Image source: favim
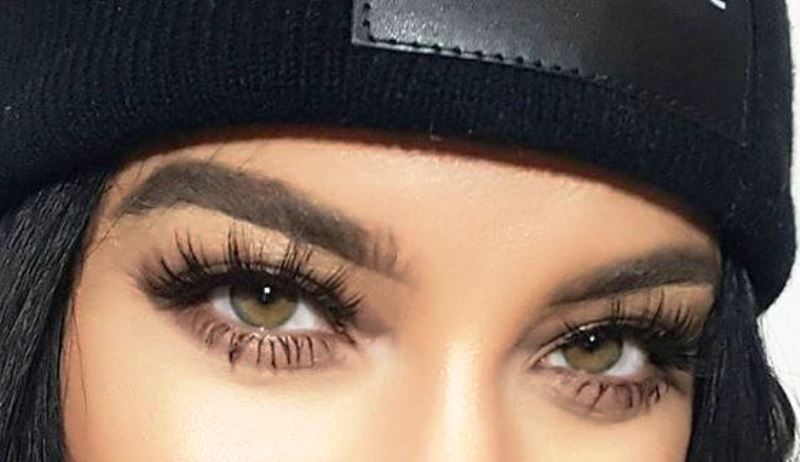
Now, we have the winged eyeliner perfected and ready, the only thing left is to complete your winged look with lush lash magic. A couple mascara strokes should fix it just fine. Always go from inside on your lashes and don’t you forget to end with a roll for that perfect curl. If you’re not confident, try placing a finger underneath the lash!
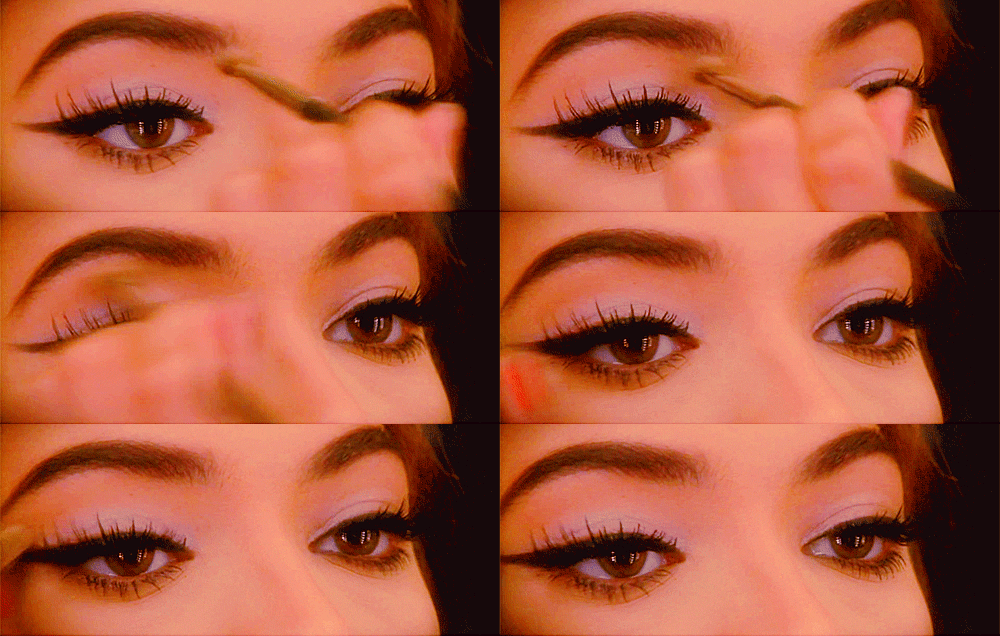 Image source: rebloggy
Ah, do you see that? That’s the perfect winged liner and you are the artist behind it. So, bask in the pleasure of your success and step out to have all eyes riveted on you! Cheers!
Here’s some novel inspiration- you know, for playful experiments..enjoy:
Featured image source: Pinterest


